


Ollama is a fantastic tool that allows you to run powerful large language models (LLMs) like Llama 3.1, Llma3.2, Gemma 2, Code Llama and many more directly on your Mac. This means you can experiment with and use these AI language models without relying on cloud services or dealing with internet connectivity issues.
This article will guide you through the simple process of installing and running Ollama on your Mac.
Prerequisites:
- Mac with macOS 11 Big Sur or later
- Internet connection for initial download
Installation Methods:
There are two main ways to install Ollama on your Mac:
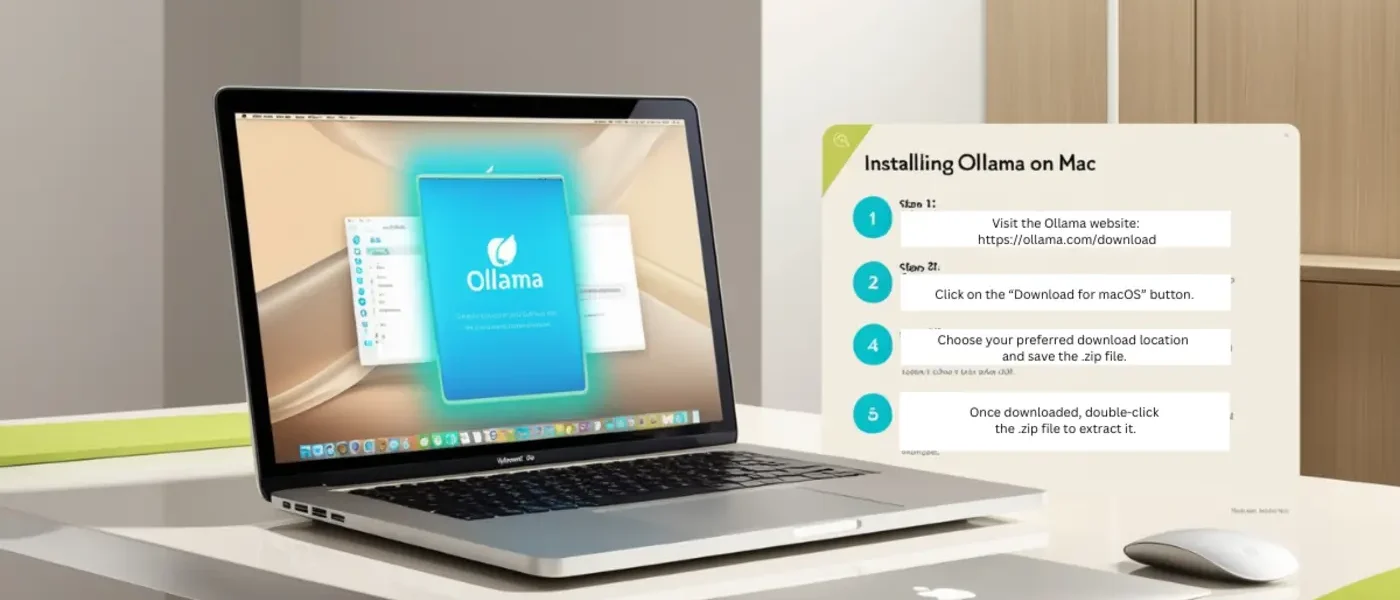
1. Downloading the App:
1. Visit the Ollama Website: Go to https://ollama.com/download
2. Download the Application: Click on the “Download for macOS” button.


3. Save the File: Choose your preferred download location and save the .zip file.
4. Locate the Download: After downloading, you might notice that the Ollama-darwin.zip file is automatically moved to the Trash, and the application appears in your Downloads folder as “Ollama” with the type “Application (Universal)”.
5. Open the Application: Navigate to your Downloads folder and double-click on the “Ollama” application. You will see a security prompt indicating that the application was downloaded from the internet.


6. Security Prompt: Click “Open” in the security prompt to proceed with launching Ollama.
7. Move to Applications Prompt: After clicking “Open,” you will see a prompt indicating that Ollama works best when run from the Applications directory.


8. Move to Applications: Click “Move to Applications” in the prompt to move Ollama to your Applications folder for optimal performance.
9. Launch the Application: Navigate to your Applications folder and launch Ollama. Once running, you will see the Ollama icon in the desktop menu bar, indicating that the application is running successfully.


10. Access Ollama from Terminal: You can now access and control Ollama directly from the Terminal. For example, to download the Llama 3.1 8B model, use the following command:
ollama run llama3.1:8bFor a detailed guide on installing the Llama 3.1 model on Mac M1, M2, and M3, you can refer to
Bonus Tip: If you’re looking to enhance your experience by using a graphical interface, consider setting up Open WebUI, a user-friendly, browser-based interface that works seamlessly with Ollama. It allows you to manage your LLM runners offline with ease. For detailed instructions on how to set it up, check out my guide: Set Up Open WebUI with Ollama on Mac: Your Guide to Offline AI Mastery
2. Using Homebrew (Optional):
If you already use Homebrew, a package manager for macOS, you can install Ollama through the command line:
1. Open a Terminal window.
2. Run the following command:
brew install ollama3. Follow the on-screen instructions during the installation process.
Running Ollama:
- Open Ollama from your Applications folder.
- You will be presented with a terminal window within the app
- Choose a pre-installed model like “Mistral 7B Chat Model” or “Llama 2 OpenAI API.”
- Type your prompt in the terminal window and press Enter.
- Ollama will process your prompt and generate a response using the chosen model.
Additional Tips:
- Ollama requires downloading the chosen model for initial use. This might take some time depending on your internet speed.
- You can explore other available models or even create your own custom models within Ollama.
- For detailed instructions and troubleshooting, refer to the official Ollama documentation: https://github.com/ollama/ollama
By following these steps, you can easily install and start using Ollama on your Mac to unlock the power of large language models for your own exploration and experimentation.
Frequently Asked Questions (FAQ)
Q1: How do I install Ollama on Mac?
A: You can install Ollama on Mac by either downloading the app from the official website (ollama.com/download) or using Homebrew with the command brew install ollama. Detailed steps are provided in the article above.
Q2: Can I install Ollama using Homebrew?
A: Yes, you can install Ollama using Homebrew. Simply open a terminal and run brew install ollama.
Q3: What are the system requirements for Ollama on Mac?
A: Ollama requires macOS 11 Big Sur or later.
Q4: Does Ollama work on Apple Silicon Macs (M1, M2, M3)?
A: Yes, Ollama is compatible with both Intel and Apple Silicon Macs.
Q5: How do I run Ollama after installation?
A: After installation, you can run Ollama by opening it from your Applications folder or by using the terminal.
Q6: Where are Ollama models stored on Mac?
A: Ollama models are typically stored in the user’s home directory, but the exact location may vary. You can check the official documentation for specifics.
Q7: How do I update Ollama on Mac?
A: If you installed via Homebrew, you can update Ollama using brew upgrade ollama. For the app version, check the official website for the latest version and download it.
Q8: Can I use Ollama offline?
A: Once you’ve downloaded the models, you can use Ollama offline. However, the initial model download requires an internet connection.
Q9: How do I uninstall Ollama from my Mac?
A: If you installed via Homebrew, use brew uninstall ollama. For the app version, you can simply delete the Ollama.app from your Applications folder.
Q10: Is there a GUI for Ollama on Mac?
A: Yes, there are community-developed GUIs available for Ollama. A great option is Open WebUI, which provides a user-friendly, browser-based interface that works seamlessly with Ollama. You can easily set it up and start using it by following this guide: Set Up Open WebUI with Ollama on Mac: Your Guide to Offline AI Mastery. Check the official documentation or community resources for more information.
Q11: Can I use Ollama with programming languages like Python or Node.js?
A: Yes, Ollama can be integrated with various programming languages. Check the official documentation for API usage and examples.
Q12: How do I start Ollama in the terminal?
A: Open a terminal window and type ollama run followed by the model name you want to use, e.g., ollama run llama2.
Q13: Where can I find more documentation on Ollama?
A: You can find detailed documentation on the official Ollama GitHub repository: https://github.com/ollama/ollama
Q14: Can I install Ollama using Conda?
A: While Conda installation isn’t officially supported, you may be able to use Conda to create an environment and then install Ollama via other methods.
Q15: Is there an Ollama client for Mac?
A: Ollama itself serves as both a server and client on Mac. There are also third-party clients available.
Q16: How do I install Ollama models?
A: Models are typically downloaded automatically when you first use them. You can also manually install models using the command ollama pull [model_name].
Q17: Can I use Ollama on Ubuntu or Windows?
A: Yes, Ollama is available for Ubuntu. Windows support is in development. Check the official website for the latest information.
Q18: How do I set up Ollama?
A: After installation, Ollama is ready to use. You can start it from the Applications folder or terminal and begin using models immediately.
Q19: Is there an Ollama app for Android?
A: As of now, Ollama is primarily for desktop operating systems. Check the official website for the latest on mobile support.
Q20: How do I use Ollama with React or React Native?
A: You can integrate Ollama with React or React Native applications by using Ollama’s API. Refer to the official documentation for integration guides.
Q21: Where is the Ollama installation location?
A: If installed via Homebrew, Ollama is typically in /usr/local/bin/ollama. For the app version, it’s in your Applications folder.
Q22: How do I exit Ollama in the terminal?
A: You can typically exit Ollama by typing exit, pressing Ctrl+C, or closing the terminal window.
Q23: Can I use Ollama for production?
A: While Ollama is powerful, its suitability for production depends on your specific use case. Consult the documentation and consider factors like licensing and performance requirements.
Q24: How do I troubleshoot “address already in use” errors with Ollama?
A: This usually means Ollama is already running. Try stopping existing Ollama processes or changing the port it uses.
Q25: Can I use Ollama to install Nemotron-Mini, developed by NVIDIA, on my Mac?
A: Absolutely! If you’re interested in installing Nemotron-Mini on your Mac M1, M2, or M3, check out our quick-start guide specifically for Nemotron-Mini. It covers the installation process in a few easy steps: Quick Start: Install Nemotron-Mini on Mac M1, M2, and M3 in Minutes.
Conclusion
Congratulations! You’ve successfully installed Ollama on your Mac and can now experiment with powerful large language models directly on your device. If you’re looking to take your AI capabilities even further, consider setting up Open WebUI, a self-hosted, offline interface that works seamlessly with Ollama.
Open WebUI runs directly in your browser, providing an intuitive and easy-to-understand graphical user interface (GUI). This makes managing your LLM runners a breeze, even for those who may not be as familiar with command-line tools.
To get started, check out my detailed guide: Set Up Open WebUI with Ollama on Mac: Your Guide to Offline AI Mastery.
This guide will walk you through the process of setting up Open WebUI, so you can enjoy a smooth and efficient offline AI experience.