


Apache Subversion (SVN) is a powerful version control system widely used for managing source code and collaborative projects. If you’re using an Apple Silicon Mac (M1, M2, or M3), installing SVN requires a few specific steps. This tutorial will guide you through the process, ensuring you have SVN 1.14.3 up and running in no time.
Prerequisites
- Apple Silicon Mac (M1, M2, or M3)
- Terminal Access
- Homebrew Installed
Note: If you haven’t installed Homebrew yet, follow this quick setup guide: Mastering Homebrew: Quick Setup on Mac M1, M2, and M3.
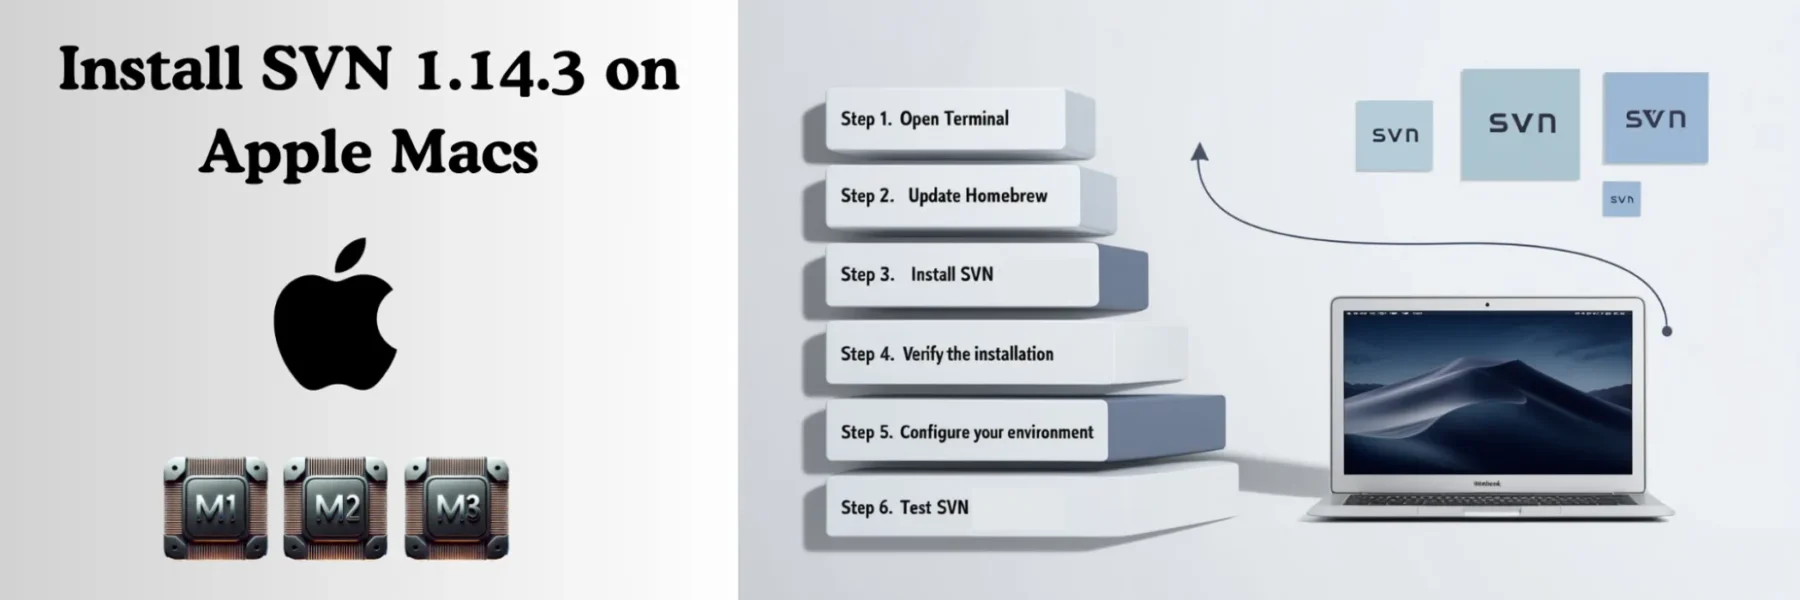
Step 1: Open Terminal
Launch the Terminal application on your Mac. You can find it by:
- Pressing Command (⌘) + Space to open Spotlight Search, then typing “Terminal”.
- Or navigating to Applications > Utilities > Terminal.
Step 2: Update Homebrew
Before installing SVN, ensure that Homebrew is up to date.
brew updateThis command fetches the latest list of available packages and updates Homebrew itself if necessary.
Step 3: Install SVN 1.14.3
Install SVN using Homebrew with the following command:
brew install svnHomebrew will download and install SVN 1.14.3 (or the latest available version) along with any required dependencies.
Step 4: Verify the Installation
After the installation completes, verify that SVN is installed correctly:
svn --versionYou should see output similar to:
svn, version 1.14.3 (r1886195)Step 5: Configure Your Environment (Optional)
If you plan to use SVN frequently, consider adding it to your shell profile for easy access.
- Zsh Users (default on macOS Catalina and later):
echo 'export PATH="/usr/local/bin:$PATH"' >> ~/.zshrc
source ~/.zshrc- Bash Users:
echo 'export PATH="/usr/local/bin:$PATH"' >> ~/.bash_profile
source ~/.bash_profileStep 6: Test SVN Functionality
Create a test directory and initialize an SVN repository to ensure everything is working properly.
mkdir svn-test
cd svn-test
svnadmin create test-repoTroubleshooting
- Command Not Found: If you receive a “command not found” error when running
svn, ensure that/usr/local/binis in yourPATH. - Permission Issues: If you encounter permission errors, try running the command with
sudo, although this is generally not recommended with Homebrew.
Conclusion
Congratulations! You’ve successfully installed SVN 1.14.3 on your Apple Silicon Mac. You’re now ready to manage your projects with one of the most reliable version control systems available.
Additional Resources
- Official SVN Documentation: Apache Subversion
- Homebrew Package Manager: Homebrew Website
- Homebrew Setup Guide: Mastering Homebrew: Quick Setup on Mac M1, M2, and M3
Feel free to share this guide with colleagues or friends who might find it helpful. Happy coding!