


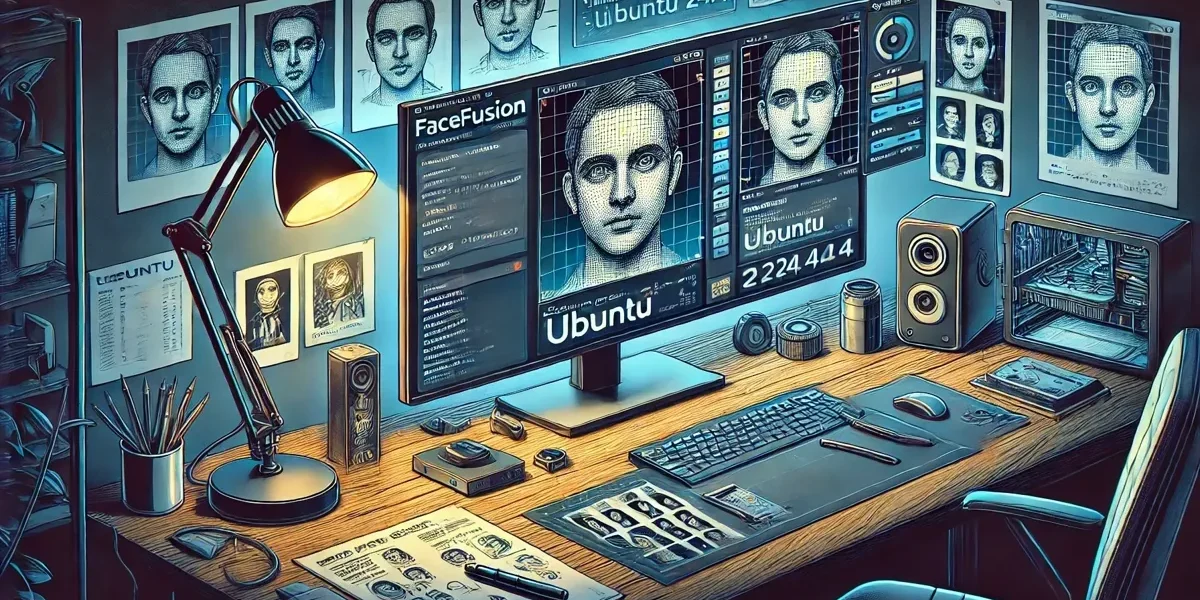
FaceFusion is a powerful tool for facial recognition and analysis, often used for AI face swap applications, digital face replacement, and deepfake projects. Here’s how to install it on Ubuntu, ensuring you utilize the best tools and libraries. FaceFusion can be used with just a CPU and does not require a GPU to operate.
Prerequisites
- Ubuntu 18.04 or later
- Python 3.6 or later
- Optional : NVIDIA GPU with CUDA support (for GPU acceleration)
- At least 8GB of RAM
Step 1: Update and Upgrade Your System
sudo apt update
sudo apt upgrade -yStep 2: Install Essential Packages
sudo apt install -y build-essential cmake git-all curl python3 python3-pip python3-venv libopenblas-dev liblapack-dev libjpeg-dev libpng-dev ffmpeg mesa-va-driversStep 3: Install Miniconda
Download and install either Miniconda or Anaconda to manage your Python environment. The article below provides detailed instructions on installing Miniconda.
Step 4: Create and Activate Conda Environment
Create a dedicated Conda environment for FaceFusion to manage dependencies cleanly.
conda create --name facefusion python=3.10
conda activate facefusionStep 5: Install CUDA and cuDNN (Optional for GPU Acceleration)
For GPU acceleration, which significantly enhances performance in AI face swap and deepfake tasks:
Install CUDA Toolkit and cuDNN using Conda:
conda install conda-forge::cuda-toolkit=12.4.1 cudnn=8.9.2.26 conda-forge::gputil=1.4.0Step 6: Install OpenVINO (Optional for Intel Hardware Acceleration)
For those using Intel hardware, OpenVINO offers great optimization for AI workloads.
conda install conda-forge::openvino=2023.1.0Step 7: Clone FaceFusion Repository
FaceFusion’s source code is available on GitHub. Clone the repository to get started.
git clone https://github.com/facefusion/facefusion
cd facefusionStep 8: Install FaceFusion
Run the installation script to set up FaceFusion.
python install.py --onnxruntime "default"Step 9: Reload Conda Environment
conda deactivateconda activate facefusionStep 10: Run FaceFusion
Start FaceFusion to begin working with facial recognition and analysis.
python facefusion.py run --open-browserStep 11: Verify Installation
Ensure that FaceFusion is installed correctly by checking its version.
import facefusion
print(facefusion.__version__)Additional Configuration
Refer to the FaceFusion documentation for detailed environment and accelerator setup, especially if you’re working with tools like Google Colab for remote processing or implementing NSFW filters.
Troubleshooting
Consult the Linux Installation Guide and Environment Setup Guide. For GPU-related issues, refer to the Accelerator Configuration Guide.
For comprehensive instructions and troubleshooting, visit the official FaceFusion Documentation.
Related Tools and Technologies
FaceFusion is often compared with tools like DeepFaceLab, Reface AI, and Wav2Lip. Platforms like Vidnoz and Akool also provide similar AI face swap and deepfake functionalities. Python scripting, combined with libraries such as NumPy and the Open Neural Network Exchange (ONNX), forms the backbone of these applications. Using Google Colab can also help in leveraging powerful GPUs for free, making it easier to handle computationally intensive tasks like video face swap and stable diffusion modeling. FaceFusion with tools like Stable Diffusion can create innovative face swap and deepfake projects.
Embrace the future of AI-driven facial recognition and deepfake technology with FaceFusion and its comprehensive installation process on Ubuntu.
thank u so much; your instructions worked for me flawlessly on Ubuntu 24.04 in Dec 2024. I had tried instructions elsewhere with no luck many thanx shan
Hi Shan,
Glad to hear the guide worked flawlessly for you on Ubuntu 24.04! Feel free to reach out if you need any help. Happy experimenting with FaceFusion! 😊
Hi again Zahir. Played with it last night. Then turned computer off
Restart this morning and I get this:
shan@shan-Aspire-XC-780:~/facefusion$ python facefusion.py run –open-browser
Traceback (most recent call last):
File “/home/shan/facefusion/facefusion.py”, line 7, in
from facefusion import core
File “/home/shan/facefusion/facefusion/core.py”, line 8, in
from facefusion import content_analyser, face_classifier, face_detector, face_landmarker, face_masker, face_recognizer, logger, process_manager, state_manager, voice_extractor, wording
File “/home/shan/facefusion/facefusion/content_analyser.py”, line 3, in
import cv2
ModuleNotFoundError: No module named ‘cv2’
shan@shan-Aspire-XC-780:~/facefusion$
Any easy answer to this? Thanx Shan
Hi Shan,
It seems the environment wasn’t activated. Before running the script, try:
conda activate facefusion
OK got it i Think :]
when restarting one needs to do each time:
conda activate facefusion
then >>> cd facefusion
then >>> python facefusion.py run –open-browser
SO i added this to .bashcr
alias FA=’conda activate facefusion ; cd facefusion ;python facefusion.py run –open-browser’
open terminal >> enter : FA
If you think that is useful maybe add to your guide
Again thanx shan
Thank you so much for your suggestion! That’s a great idea to streamline the process for running FaceFusion. Adding an alias to .bashrc makes it much more convenient for users. I’ll definitely include this tip in the guide as an optional step for those who want to simplify their workflow.
Thanks again for your input—it’s always appreciated when readers share practical improvements like this!
One more question :]
It seems it produces very poor definition webp 50k outputs how do I disable webp from being outputted? I wish to get png in the 5MB ballpark. Any idea. I know you are not the designer of this; but just asking in case you know
Thanx
shan
Hi Shan,
The WebP format in the Preview is used for faster processing and a lightweight view, but it doesn’t affect the final output.
For the final output, the settings you configure under OUTPUT IMAGE QUALITY and OUTPUT IMAGE RESOLUTION (for images) or OUTPUT VIDEO QUALITY, OUTPUT VIDEO RESOLUTION, and OUTPUT VIDEO FPS (for videos) will be applied to ensure high-quality exports.
So, while the preview uses WebP for quick rendering, the final output respects your resolution and quality settings.
Thanx for all your help
Have a great end to the year
shan