


If you’re seeking a robust, self-hosted solution for managing large language models (LLMs) offline, Open WebUI is an excellent choice. Compatible with LLM runners like Ollama and OpenAI-compatible APIs, Open WebUI enables you to run these models in a secure, offline environment. This guide will walk you through setting up Open WebUI on Ubuntu 24.04.
Before You Start: Prerequisites
To get started with Open WebUI, ensure your Ubuntu system has Docker installed. Docker is essential for running Open WebUI as it allows you to deploy the WebUI in a containerized environment. If Docker is not installed on your system, you can easily install it by following the Docker installation guide for Ubuntu.
Additionally, if you haven’t yet installed Ollama, you’ll need to do that first. Refer to our comprehensive guide on installing Ollama on Ubuntu for detailed instructions.
Step 1: Download and Run the Open WebUI Docker Image
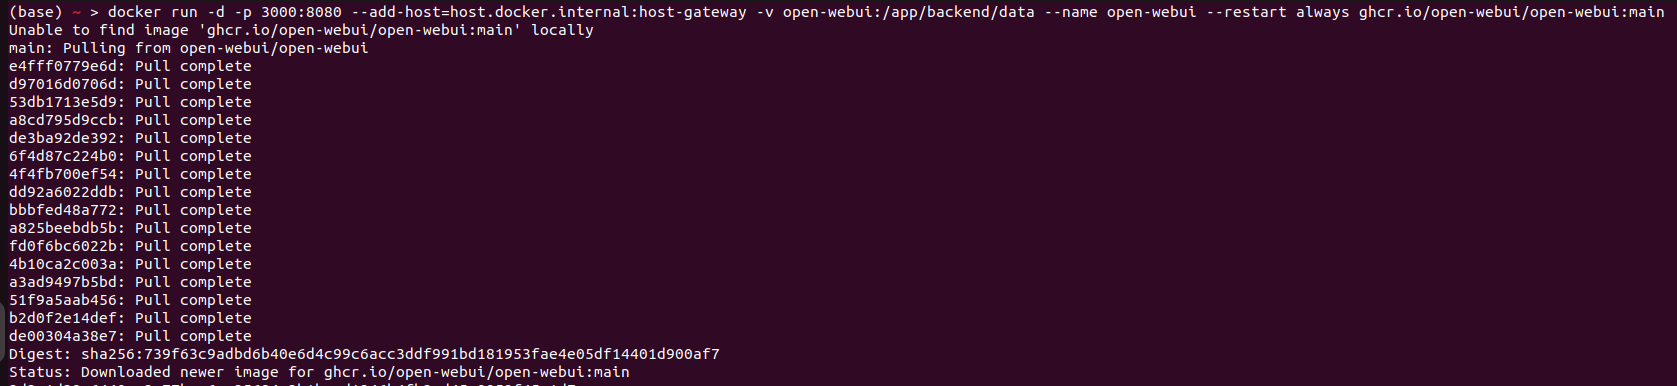
The first step in setting up Open WebUI is to download its Docker image. Open a terminal window and execute the following command:
docker run -d -p 3000:8080 --add-host=host.docker.internal:host-gateway -v open-webui:/app/backend/data --name open-webui --restart always ghcr.io/open-webui/open-webui:mainThis command accomplishes several things:
- Pulls the Open WebUI Docker image from the GitHub Container Registry.
- Runs the container in detached mode (
-d), meaning it will operate in the background. - Maps port 8080 inside the container to port 3000 on your machine (
-p 3000:8080), allowing you to access Open WebUI via your web browser. - Adds a host entry for Docker’s internal gateway (
--add-host=host.docker.internal:host-gateway). - Sets up a persistent volume (
-v open-webui:/app/backend/data) to ensure your data is not lost when the container is stopped or restarted. - Names the container “open-webui” and configures it to restart automatically (
--restart always).
After running this command, Docker will begin pulling the necessary image layers. Once completed, the container will start automatically.

Step 2: Accessing Open WebUI on Ubuntu
With the Docker container running, you can access Open WebUI by navigating to http://localhost:3000 in your web browser. When prompted, log in to Open WebUI.

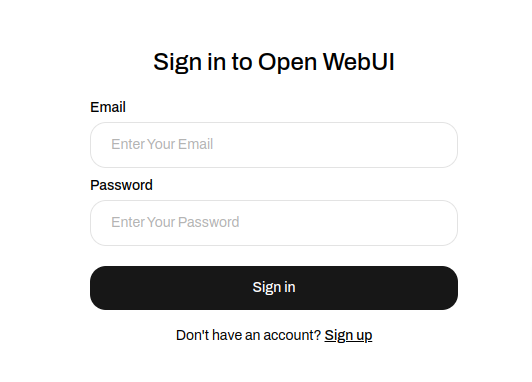
All your data is stored locally on your Ubuntu system, ensuring maximum privacy and security.
For new user click on Sign up and register
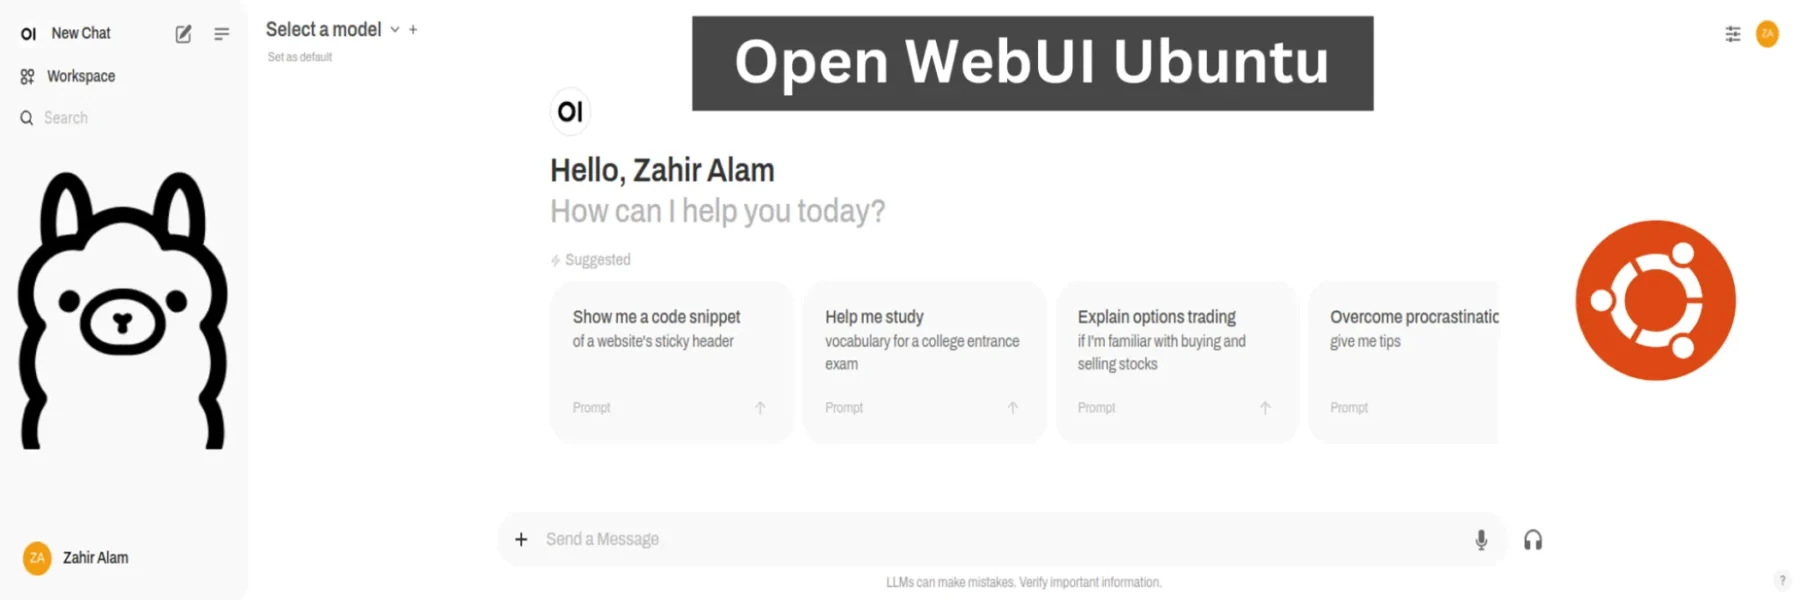
Step 3: Getting Acquainted with the Open WebUI Dashboard
Upon logging in, you’ll be welcomed by the Open WebUI dashboard. This user-friendly interface is your gateway to managing various LLM models and tools.

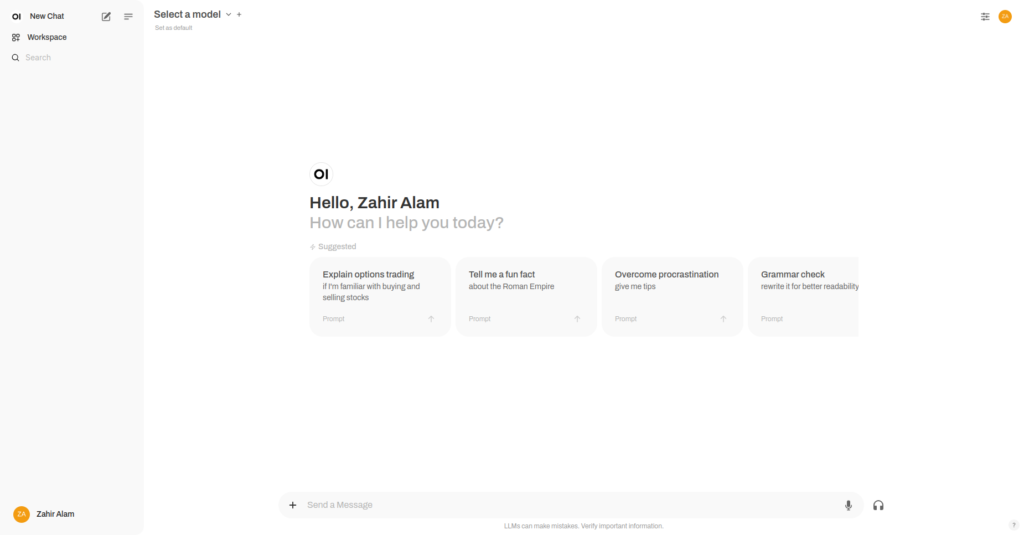
Here’s a brief overview of what you can do within the dashboard:
- Start a New Chat: Quickly initiate a conversation with the AI model.
- Explore Your Workspace: Manage and organize your files and projects.
- Search for Features: Easily locate specific functionalities using the search bar.
- Select a Model: Choose from the available models to begin your work.
The left sidebar provides easy navigation, while the top menu allows for quick model selection and customization based on your needs.
Conclusion
Congratulations! You’ve successfully set up Open WebUI on your Ubuntu 24.04 system. This powerful platform is now ready for you to explore its many features, all while keeping your data securely offline.
If you encounter any challenges during the installation process, don’t hesitate to consult the official Open WebUI documentation or seek help from the community. Enjoy your journey into offline AI mastery!