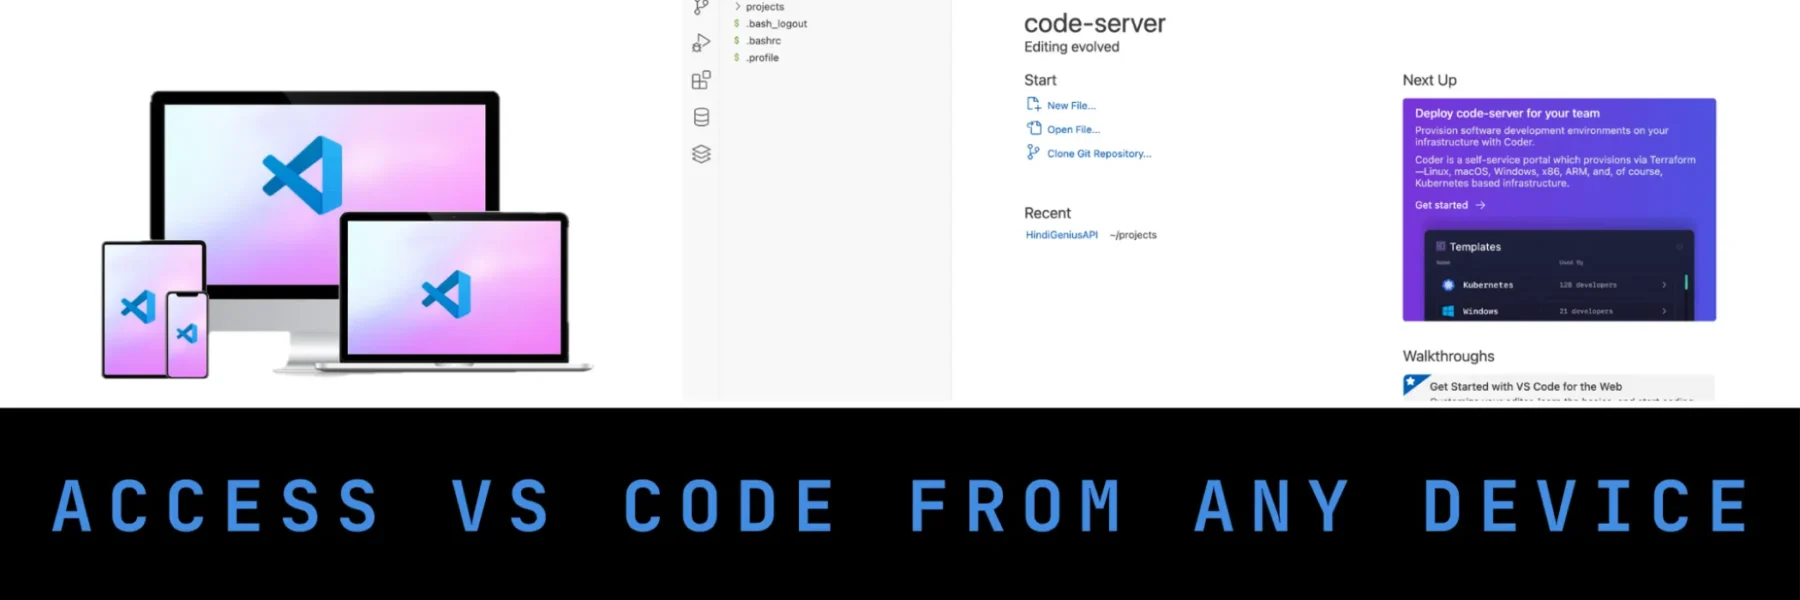
Do you want to access Visual Studio Code from your tablet, iPad, Android, iPhone, or any browser-enabled device? With code-server, you can run VS Code on a remote Ubuntu server and access it from anywhere in the world using a browser.
This guide shows you how to set up code-server using Docker on Ubuntu 24.04 LTS.
✨ Prerequisites
- An Ubuntu 24.04 server (cloud VPS or local machine)
- Root or sudo access
- Domain name pointed to your server (optional but recommended)
Before starting, make sure Docker is installed. Follow this step-by-step guide to install Docker:
👉 Quickly Install Docker on Your Ubuntu 24.04 System
🔧 Step 1: Create a Project Directory
mkdir -p /root/code-projects
cd /root/code-projectsYou can later clone your Git repos here:
git clone https://github.com/yourusername/your-repo.git🚀 Step 2: Run code-server in Docker
docker run -d \
  -p 9000:8080 \
  -v "/root/code-projects:/home/coder/projects" \
  -v "/root/code-extensions:/home/coder/.vscode" \
  -e PASSWORD="yourpassword" \
  --name code-server \
codercom/code-server:latestThis will:
- Run code-server in background
- Expose it on port 9000
- Secure it with a password
- Mount your Git project folder
- Persist extensions across container restarts
🔧 Step 3: Install SSL Certificate with Certbot
If you have a domain like vs-code.yourdomain.com pointed to your server, install an SSL certificate with Let’s Encrypt:
sudo apt install certbot python3-certbot-apache
sudo certbot --apache -d vs-code.yourdomain.comThis will automatically configure Apache with HTTPS and generate a valid SSL certificate.
🔧 Step 4: Configure Apache for Public Access (with WebSocket Support)
Create or update your Apache SSL virtual host config at:
sudo nano /etc/apache2/sites-available/vs-code.yourdomain.com-le-ssl.confPaste this config:
<IfModule mod_ssl.c>
<VirtualHost *:443>
    ServerName vs-code.yourdomain.com

    SSLEngine on
    SSLCertificateFile /etc/letsencrypt/live/vs-code.yourdomain.com/fullchain.pem
    SSLCertificateKeyFile /etc/letsencrypt/live/vs-code.yourdomain.com/privkey.pem
    Include /etc/letsencrypt/options-ssl-apache.conf

    ProxyPreserveHost On
    ProxyRequests Off
    ProxyPass / http://localhost:9000/ nocanon
    ProxyPassReverse / http://localhost:9000/

    RewriteEngine on
    RewriteCond %{HTTP:Upgrade} =websocket [NC]
    RewriteRule /(.*) ws://localhost:9000/$1 [P,L]

    ErrorLog ${APACHE_LOG_DIR}/vs-code-error.log
    CustomLog ${APACHE_LOG_DIR}/vs-code-access.log combined
</VirtualHost>
</IfModule>
Enable necessary Apache modules:
sudo a2enmod proxy proxy_http proxy_wstunnel rewrite
sudo systemctl restart apache2🔧 Step 5: Fix File Permission Errors (if needed)
If you face a permission error like:
Failed to save '.env': Unable to write file ... (NoPermissions (FileSystemError): Error: EACCES: permission denied, open ...)This is likely because the files are owned by root on the host, but code-server runs as the coder user inside the container. To fix this, run:
sudo chown -R 1000:1000 /root/code-projectsThis changes the ownership of your project folder to match the internal coder user (UID 1000), allowing full read/write access from within code-server.
🎨 Step 6: Install GitHub Copilot and Copilot Chat Extensions
You can install GitHub Copilot and GitHub Copilot Chat manually using .vsix files in code-server.
1. Download Extensions:
From your local desktop VS Code (where you see the extensions):
- Open the Extensions panel
- Search for GitHub Copilot and GitHub Copilot Chat
- Click the gear icon ⚙️ > Download VSIX
- For GitHub Copilot, choose Web platform when prompted
Or download via terminal:
wget https://marketplace.visualstudio.com/_apis/public/gallery/publishers/GitHub/vsextensions/copilot/1.336.0/vspackage -O github-copilot.vsixwget https://marketplace.visualstudio.com/_apis/public/gallery/publishers/GitHub/vsextensions/copilot-chat/0.28.1/vspackage -O github-copilot-chat.vsixNote: Versions
1.336.0and0.28.1are current at the time of writing this article. Check for newer versions if needed.
2. Upload and Install in code-server:
In code-server browser UI:
- Go to Extensions > … > Install from VSIX
- Click Show Local, then choose the
.vsixfile from your machine - Click Install
Or use terminal:
code-server --install-extension /home/coder/projects/github-copilot.vsix
code-server --install-extension /home/coder/projects/github-copilot-chat.vsixIf you see compatibility errors for Copilot Chat, upgrade to the latest version of code-server as shown in Step 2.
🔐 Step 7: Access from Any Device
Open your browser and visit:
http://your-server-ip:9000     (if no domain)
https://vs-code.yourdomain.com (if domain is configured)Enter the password you set (yourpassword), and you’ll have full access to VS Code — from mobile, tablet, or any device!
✨ Bonus Tips
- Use Git: Open the terminal inside code-server and use Git as usual.
- Clone multiple repos inside
/home/coder/projects - Install extensions directly from the web interface
- Add Docker volumes for persistence
✅ Conclusion
You now have a fully functional, browser-based VS Code editor accessible from any device — powered by code-serverand Docker on Ubuntu 24.04.
You’ve also learned how to install GitHub Copilot and Copilot Chat for a powerful AI-assisted development workflow.

