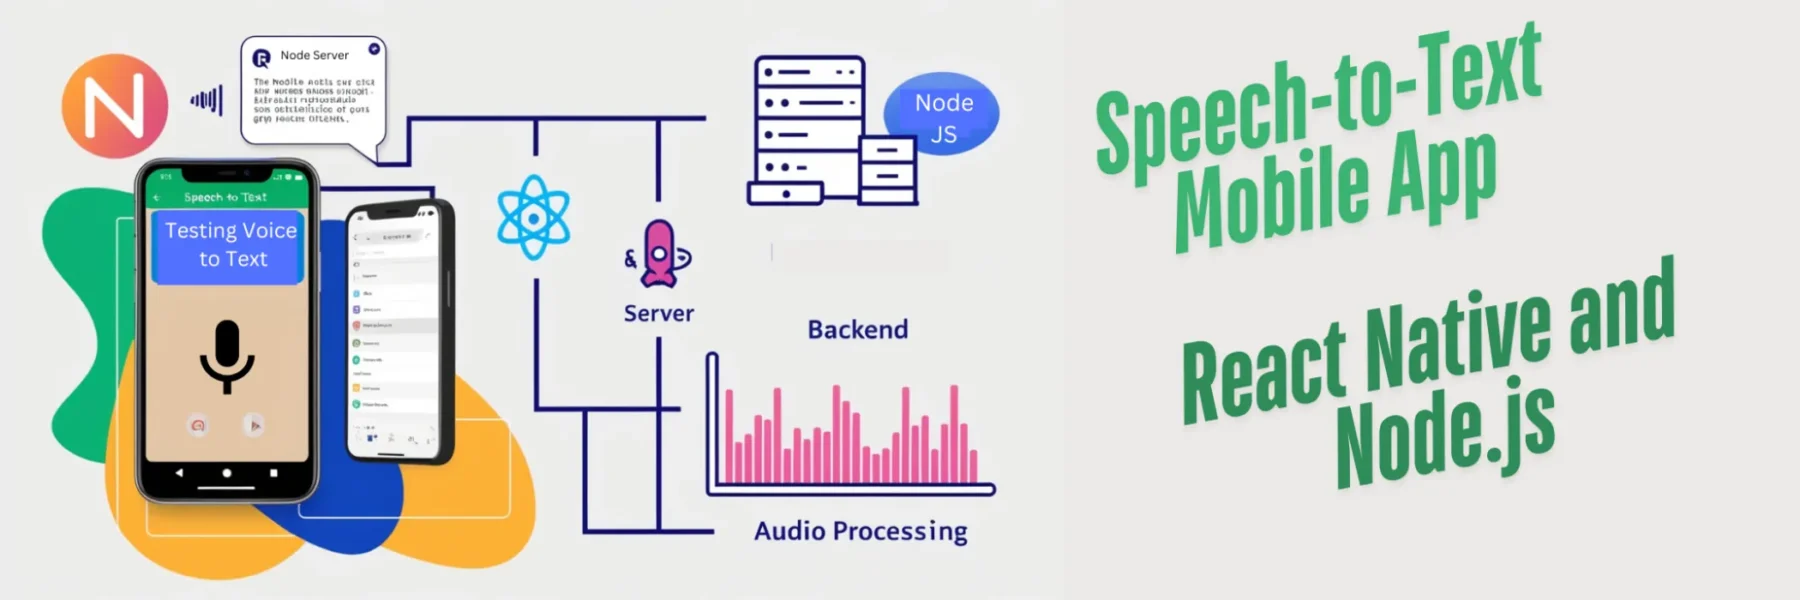
This article will guide you through building a mobile app using React Native for the frontend and Node.js for the backend, where users can record their voice, convert the audio to text using Google’s Speech-to-Text API, and display the transcription in the app. We’ll walk through the steps that made the project functional.
Prerequisites
- React Native Setup: Ensure React Native is installed and working on your system. Follow this guide to set up React Native for iOS and Android on macOS.
- Node.js Setup: Install Node.js 20.x by following this guide.
- Google Speech-to-Text API Key: Obtain an API key from the Google Cloud Console and ensure the Speech-to-Text API is enabled.
- FFmpeg: Install FFmpeg for audio conversion:
brew install ffmpegStep 1: Create a Project Structure
1. Create a folder named VoiceNote and navigate to it:
mkdir VoiceNote && cd VoiceNote2. Initialize two subprojects:
a) React Native App:
npx @react-native-community/cli init VoiceNoteAppb) Node.js Backend:
mkdir backend && cd backend npm init -yStep 2: Set Up the Node.js Backend
1. Install required dependencies in the backend folder:
npm install express body-parser multer dotenv axios2. Install and configure FFmpeg for audio conversion:
brew install ffmpeg3. Create an .env file in the backend folder and add your Google Speech-to-Text API key:GOOGLE_API_KEY=YOUR_GOOGLE_API_KEY
4. Create a file named server.js in the backend folder and add the following code:
require("dotenv").config();
const express = require("express");
const bodyParser = require("body-parser");
const multer = require("multer");
const fs = require("fs");
const axios = require("axios");
const { exec } = require("child_process");

const app = express();
const port = 5019;

// Middleware
app.use(bodyParser.json());

// Multer configuration for file uploads
const upload = multer({ dest: "uploads/" });

// Endpoint to handle audio upload
app.post("/upload", upload.single("audio"), async (req, res) => {
    try {
      const inputPath = req.file.path;
      const outputPath = `${req.file.path}.wav`;

      // Convert the audio file to LINEAR16 with 16000 Hz sample rate
      const ffmpegCommand = `ffmpeg -i ${inputPath} -ar 16000 -ac 1 -f wav ${outputPath}`;
      exec(ffmpegCommand, async (error, stdout, stderr) => {
        if (error) {
          console.error("Error during audio conversion:", stderr);
          return res.status(500).json({ error: "Error converting audio file" });
        }

        // Read the converted audio file
        const audioFile = fs.readFileSync(outputPath);
        const audioBytes = audioFile.toString("base64");

        // Google Speech-to-Text API request payload
        const requestPayload = {
          config: {
            encoding: "LINEAR16",
            sampleRateHertz: 16000,
            languageCode: "en-US",
          },
          audio: {
            content: audioBytes,
          },
        };

        // Send the audio to Google Speech-to-Text API
        try {
          const response = await axios.post(
            `https://speech.googleapis.com/v1/speech:recognize?key=${process.env.GOOGLE_API_KEY}`,
            requestPayload,
            { headers: { "Content-Type": "application/json" } }
          );

          // Extract transcription from the API response
          const transcription = response.data.results
            .map((result) => result.alternatives[0].transcript)
            .join("\n");

            console.log('transcription : ', transcription);

          // Cleanup temporary files
          fs.unlinkSync(inputPath);
          fs.unlinkSync(outputPath);

          // Respond with transcription
          res.json({ transcription });
        } catch (apiError) {
          console.error("Error during transcription:", apiError.response?.data || apiError.message);
          res.status(500).json({ error: "Error during transcription" });
        }
      });
    } catch (error) {
      console.error("Error processing request:", error);
      res.status(500).json({ error: "Error processing audio file" });
    }
  });

app.listen(port, () => {
  console.log(`Server running at http://localhost:${port}`);
});
5. Start the backend server:
node server.jsStep 3: Configure React Native
1. Install dependencies for audio recording in the VoiceNoteApp folder:
npm install react-native-audio-recorder-player react-native-permissions2. Update the VoiceNoteApp/ios/VoiceNoteApp/Info.plist file for iOS permissions. Add the following:
<key>NSMicrophoneUsageDescription</key>
<string>We need microphone access to record audio for transcription.</string>3. Modify the App.tsx file to include the following code:
import React, { useState } from "react";
import { View, Text, Button, StyleSheet, ActivityIndicator } from "react-native";
import AudioRecorderPlayer from "react-native-audio-recorder-player";

const audioRecorderPlayer = new AudioRecorderPlayer();

const App = () => {
  const [recording, setRecording] = useState(false);
  const [transcription, setTranscription] = useState("");
  const [loading, setLoading] = useState(false); // State for the spinner loader

  const startRecording = async () => {
    try {
      setRecording(true);
      const path = "recording.m4a"; // Recorded file path
      await audioRecorderPlayer.startRecorder(path);
      console.log("Recording started");
    } catch (error) {
      console.error("Error starting recording:", error);
    }
  };

  const stopRecording = async () => {
    try {
      const result = await audioRecorderPlayer.stopRecorder();
      setRecording(false);
      console.log("Recording stopped:", result);

      // Show the loader while sending the audio file
      setLoading(true);

      // Send audio file to backend
      const formData = new FormData();
      formData.append("audio", {
        uri: `file://${result}`,
        type: "audio/mpeg",
        name: "recording.mp4",
      });

      const response = await fetch("http://localhost:5019/upload", {
        method: "POST",
        body: formData,
        headers: {
          "Content-Type": "multipart/form-data",
        },
      });

      const data = await response.json();
      console.log('data.transcription: ', data.transcription);
      setTranscription(data.transcription);

      // Hide the loader after API call is complete
      setLoading(false);

    } catch (error) {
      console.error("Error stopping recording:", error);
      setLoading(false); // Ensure loader is hidden even if there's an error
    }
  };

  return (
    <View style={styles.container}>
      <Button
        title={recording ? "Stop Recording" : "Start Recording"}
        onPress={recording ? stopRecording : startRecording}
      />
      <Text style={styles.text}>
        {transcription ? `Transcription: ${transcription}` : ""}
      </Text>
      {loading && (
        <View style={styles.loaderContainer}>
          <ActivityIndicator size="large" color="#0000ff" />
        </View>
      )}
    </View>
  );
};

const styles = StyleSheet.create({
  container: {
    flex: 1,
    justifyContent: "center",
    alignItems: "center",
  },
  text: {
    marginTop: 20,
    fontSize: 16,
  },
  loaderContainer: {
    position: "absolute",
    top: 0,
    left: 0,
    right: 0,
    bottom: 0,
    justifyContent: "center",
    alignItems: "center",
    backgroundColor: "rgba(255, 255, 255, 0.6)", // Optional: dim the background
    zIndex: 10, // Ensure it stays above other components
  },
});

export default App;
4. Run the React Native app:
npx react-native run-iosStep 4: Test the App
1. Start the Node.js backend:
cd backend && node server.js2. Run the React Native app and test by recording your voice.
3. The transcription should appear in the app after you stop the recording.
Summary
By following these steps, you’ve successfully created a React Native app with a Node.js backend that records audio, converts it to text using Google’s Speech-to-Text API, and displays the transcription. This process involved configuring React Native, setting up a Node.js backend with FFmpeg for audio conversion, and leveraging Google’s powerful speech recognition capabilities.

